


Needed a thing to make a different thing. So I made that thing.
For the Sake of the Forks


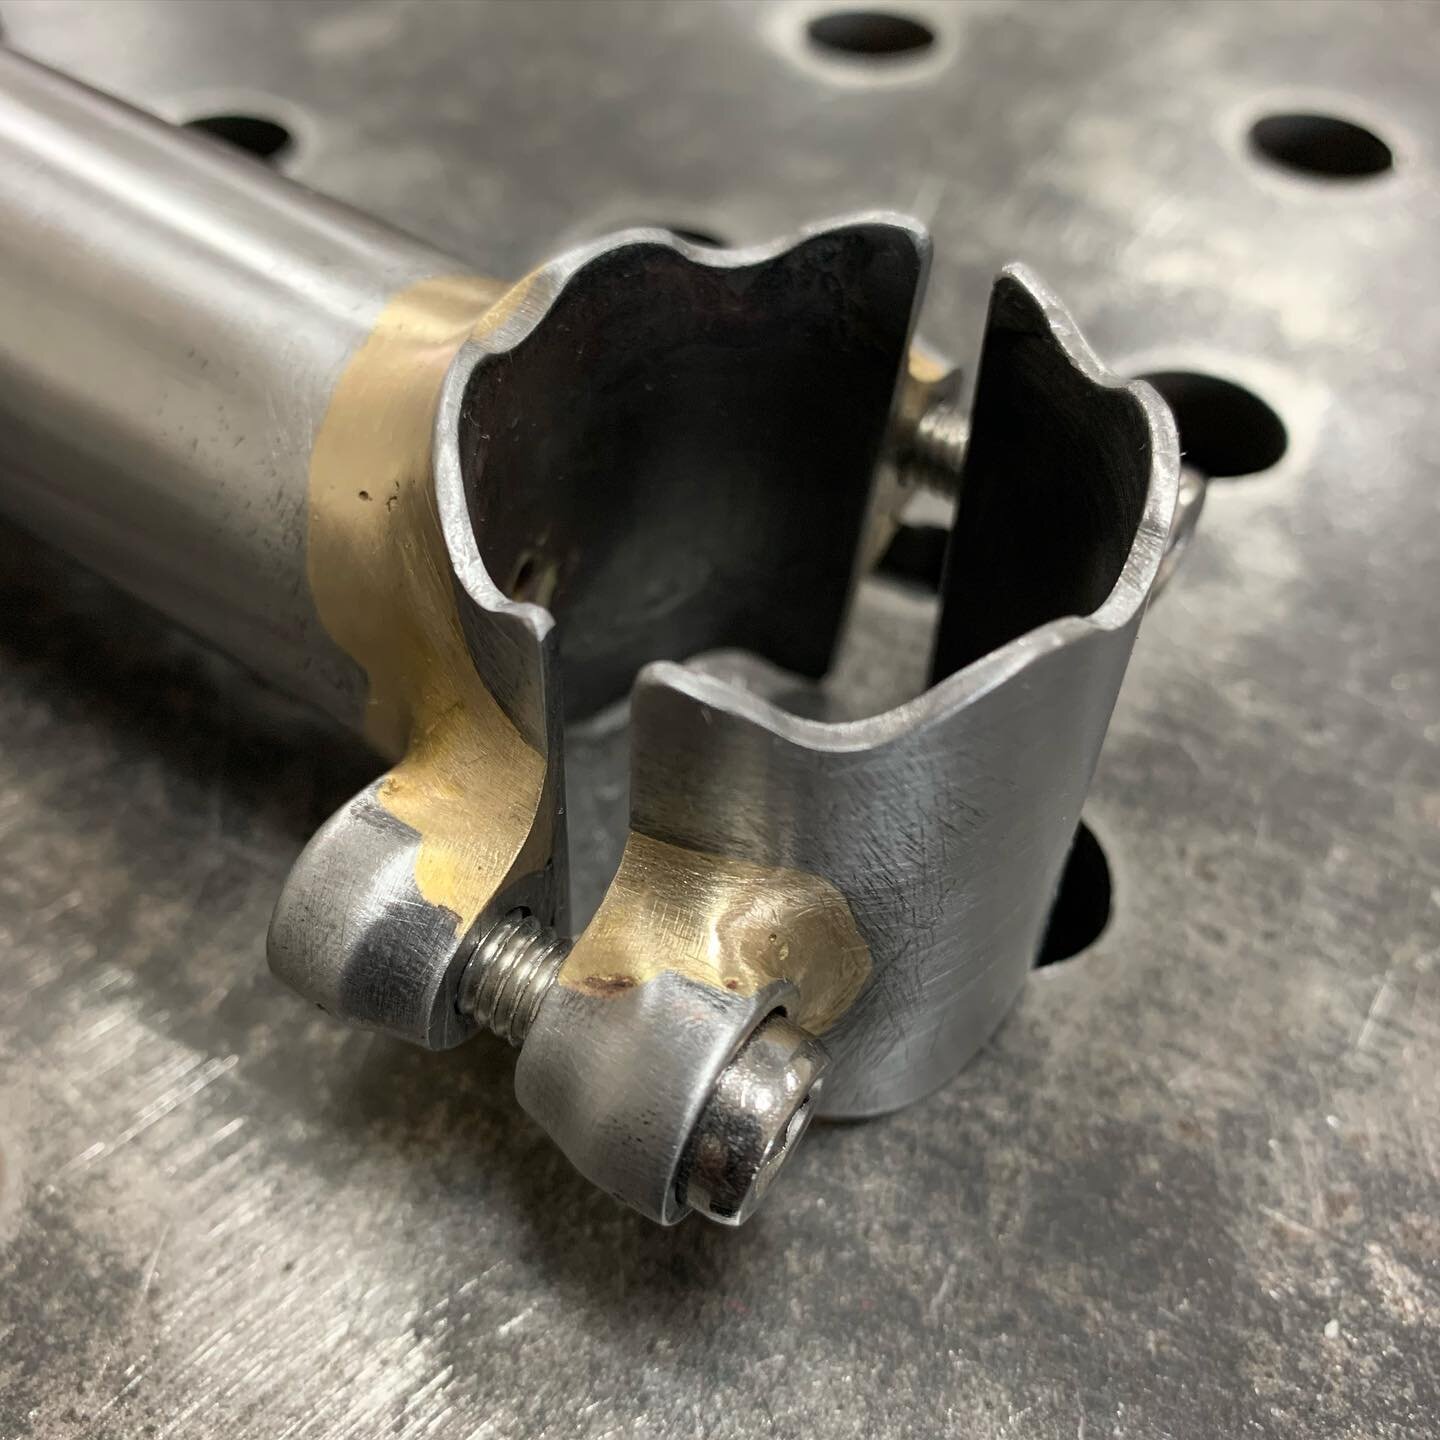
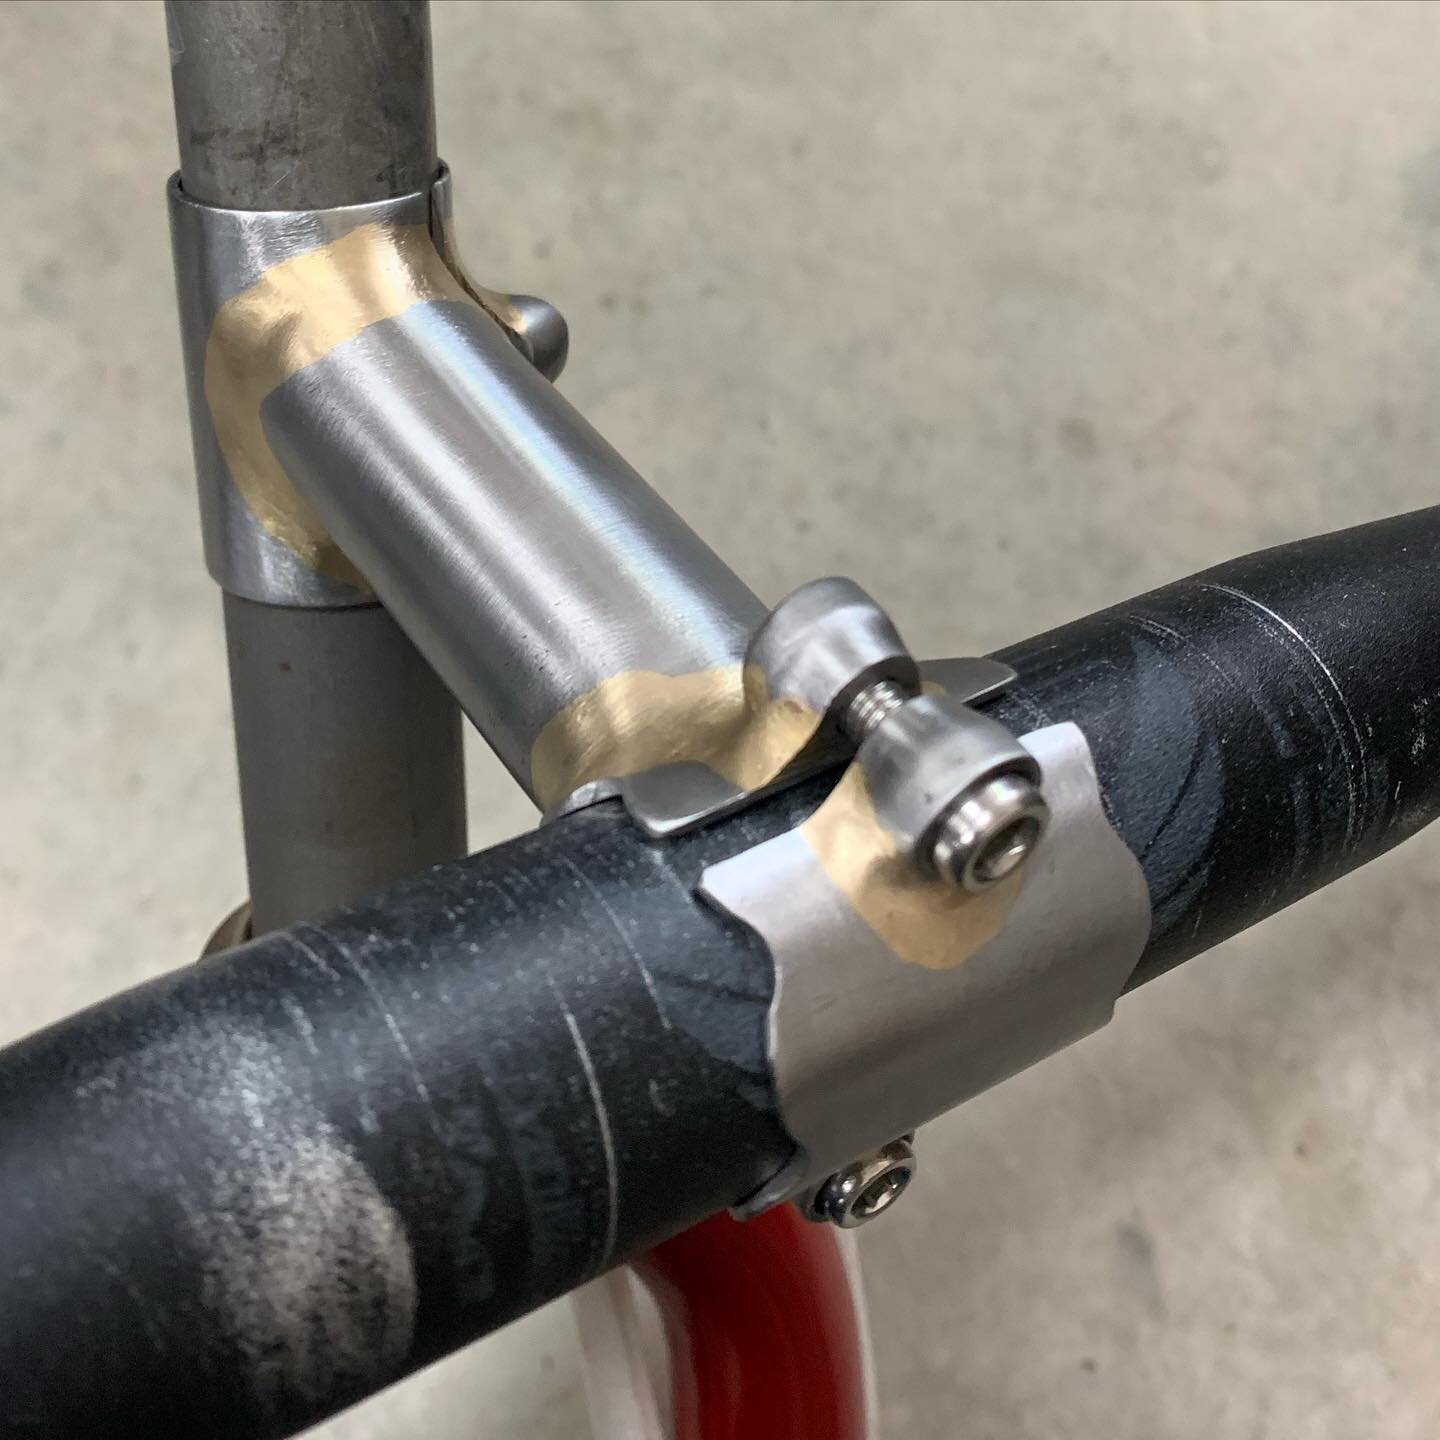
Luxury Paper Towel Holder
Problem = paper towels keep disappearing from my work bench.
Need = a place to put them where they’ll feel safe and comfortable.
Solution = build a super luxury holder. BIKES!


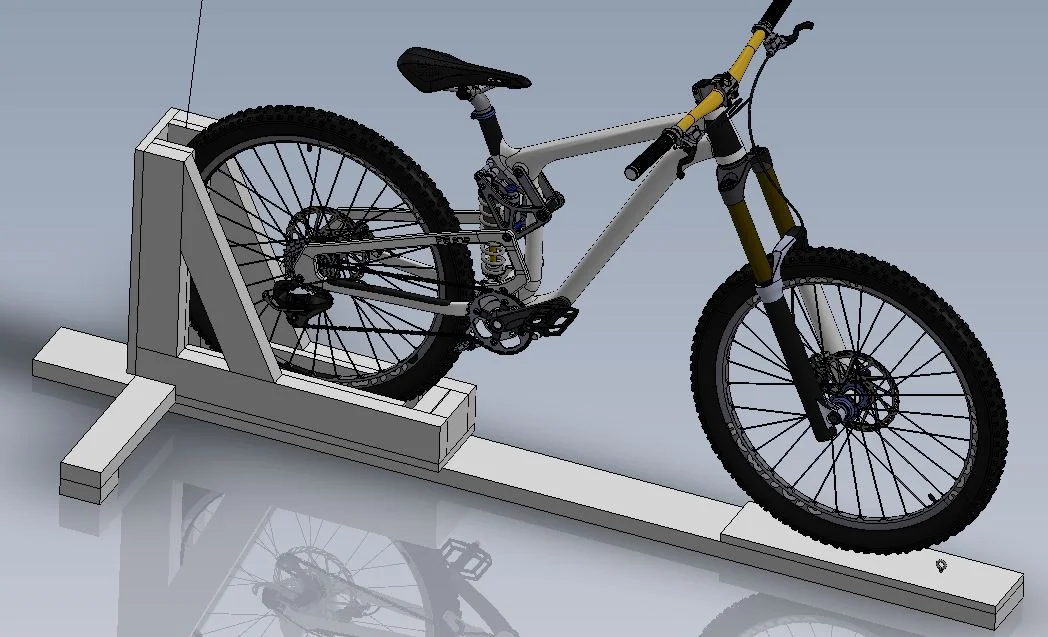
The Mother of Miters
I (thus far) do all my tube miters by hand, for two primary reasons:
I don’t have a better way.
It’s still pretty fast, once you know what you’re doing. I don’t yet…getting there though.
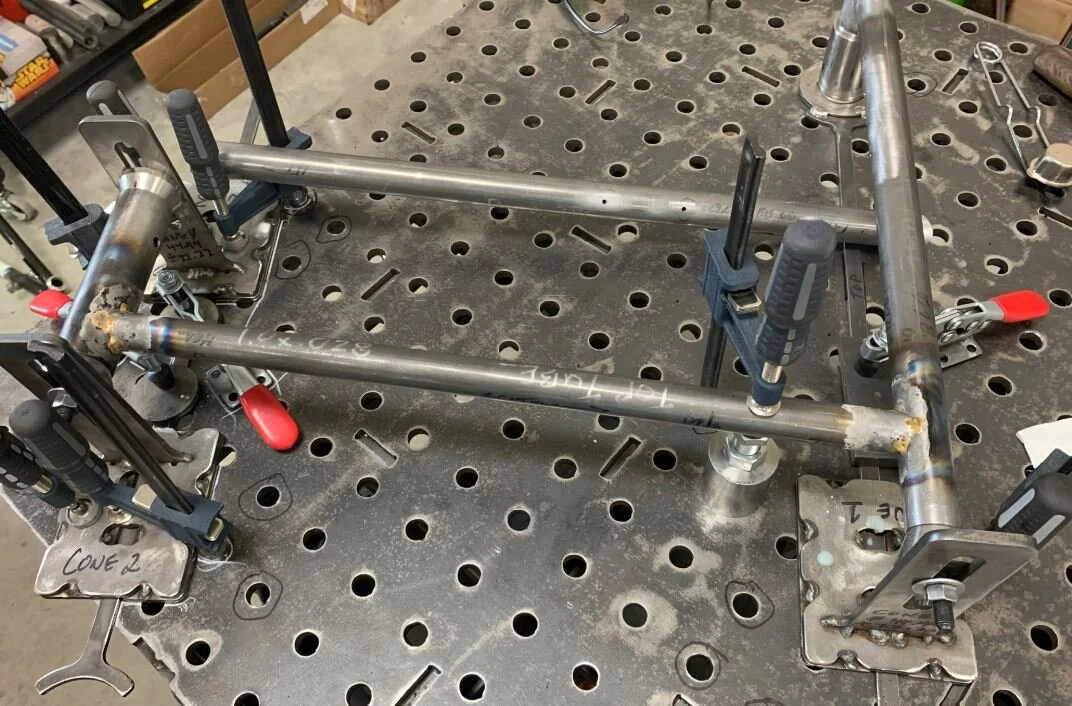
So again, made a thing to make other things.


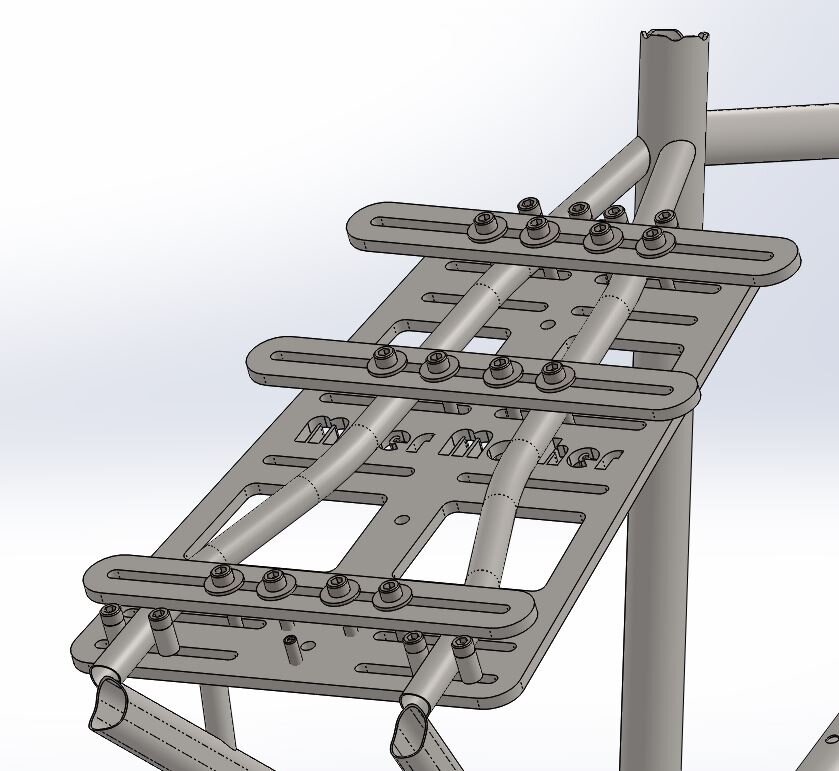
This fixture will at least allow me to get the rear triangle seat/chain stays ‘more’ symmetrical w.r.t. each other…which should mean better symmetry w.r.t. the bike’s ref planes.
AND IT’S NAME IS MITER MOTHER!!!!
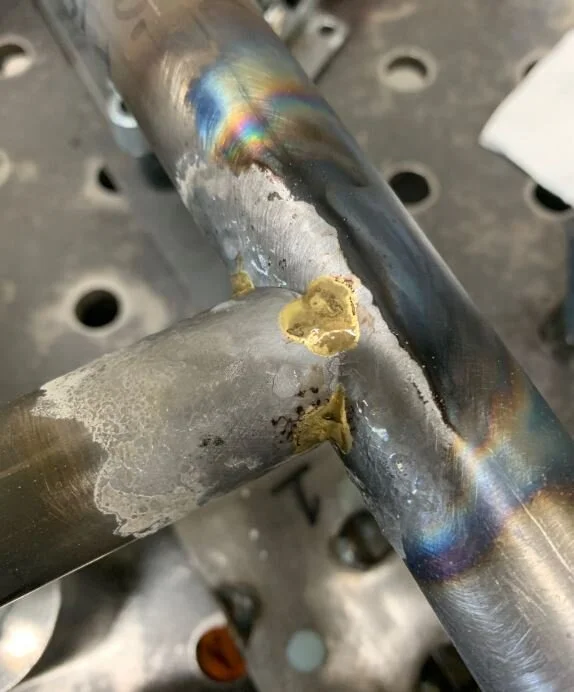
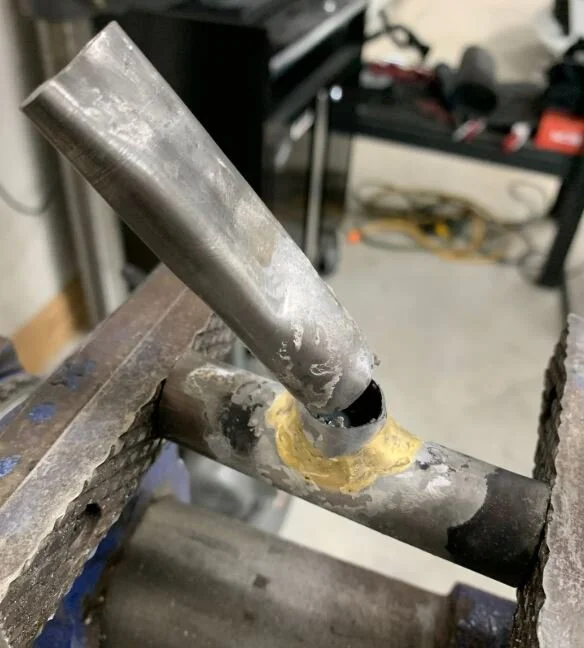
...well that sucks.
In the shortest possible terms, it turns out that what I knew, and what I needed to know, were not in the correct ratio, and that frame is scrap. A combination of a design issue (seat tube not thick enough, at least to support my frame building skill set), and issues w/ my tacking/brazing process, resulted in a seat tube that was too much like a banana, so when I went to ream the seat post ID to size, I actually cut THROUGH the seat tube, and into the braze fillets of the seat stays. And it wasn’t until this happened, that I knew enough to ask the right questions, THEN I saw several posts / sage wisdom of (real) frame builders on velocipedesalon.com and mtbr.com forums…and it was at that moment, I knew I screwed up. I was kinda sad (as in legitimately saddened, moapy, whiny, etc) for a few days, tried to fix it, which ensured it was scrap, and decided I’m going to cut it up, to look inside at the internal fillets (if there are any), and learn what I can from it, and MOOOOOVE on.
Bike #2 fabrication is progressing. I still don't know what I'm doing. But it's fun finding out what I do, and don't, know.
The general progression as been:
I need a big flat(ish) surface to build a bike on top of…so build that (the weld table in the pics, looks like metallic swiss cheese).
Need fixtures to hold tubes so the bike is (hopefully) able to be assembled and ridden, so learn how to machine stainless steel, which meant learning how to use a lathe. Go build some fixtures.
Learn how to design a bike. Bikes seem “easy” and “simple”. That’s because over more than 100 years, they’ve been brought to a state of “irreducible complexity”. Not so easy as they look.
I suck at brazing. My left hand literally does not know what my right hand is doing. It’s like balancing an egg atop a drinking straw…


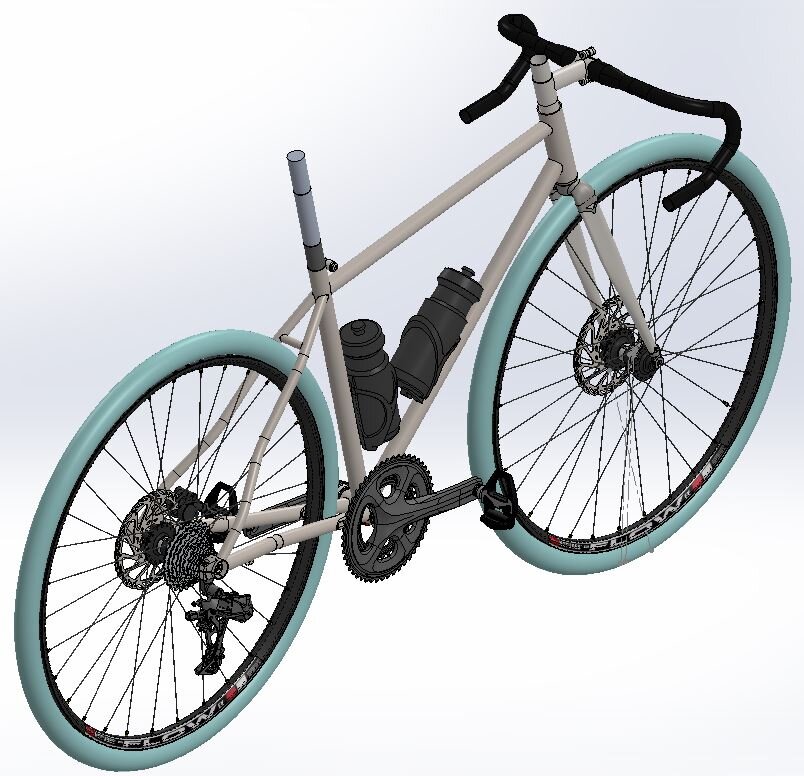
Bike #2 Design is...Complete?
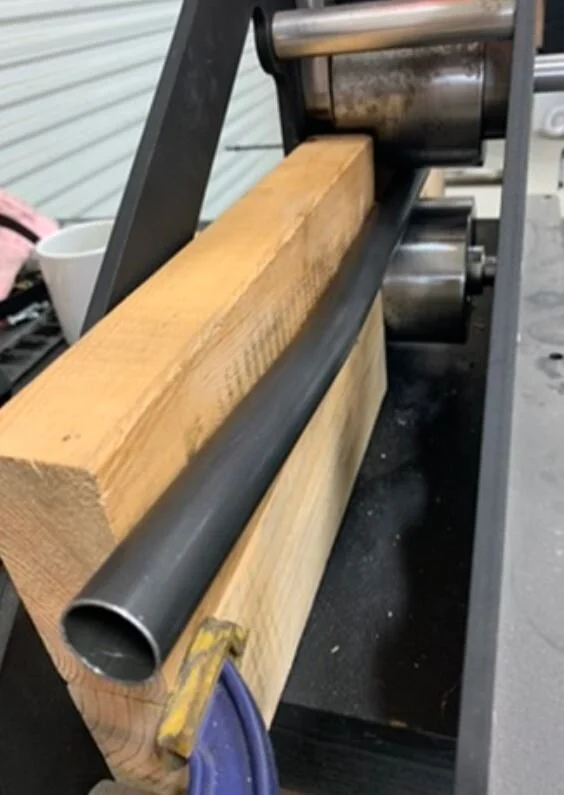
Let’s say ‘mostly’ complete. I think I’ve settled on bends in the rear triangle. Not completely sure because I need to make some test bends and see if it sucks in real life or not. Otherwise, the spec/build kit is generally decided. Been practicing brazing on my own, and you know what? It’s a helluva lot harder without a master frame building watching over your shoulder. Whoda thunk it…
Even with the crappy job I’ve done on my first few test joints, the “beat it with a hammer until it breaks to see if the tube fails first what with all that hammering test” PASSED WITH FLYING COLORS! And some chunks of flying flux. Gotta protect yer peepers…
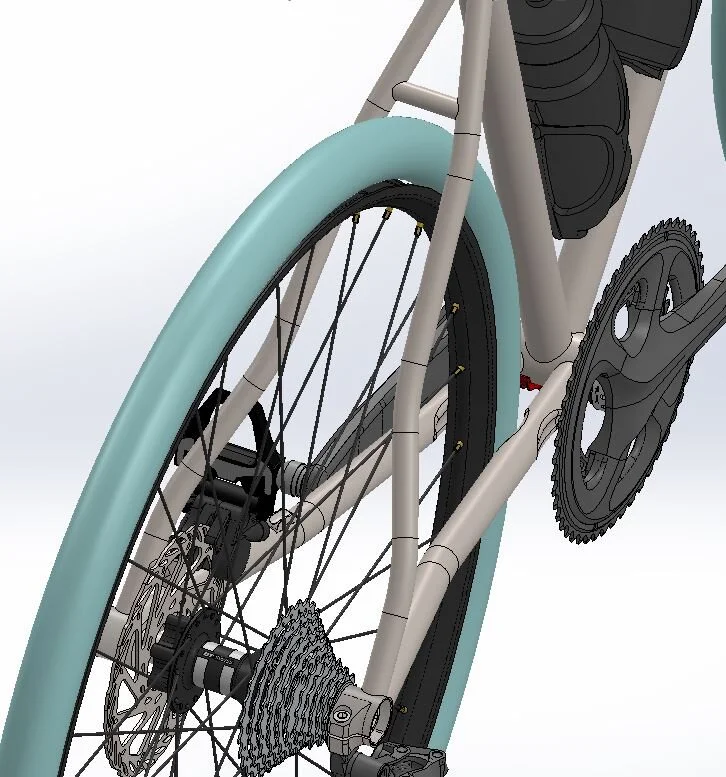


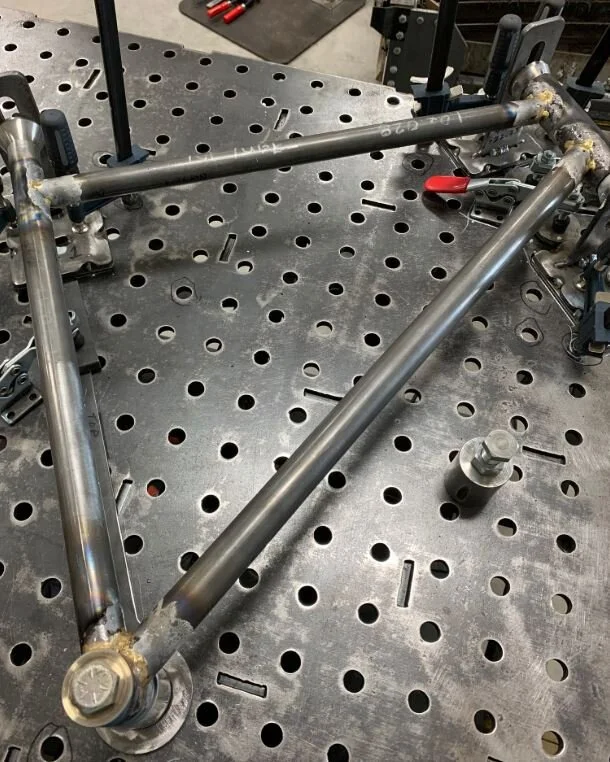
Very close to start of bike #2...

I now have all the fixtures completed to do all the work on the front triangle! Only part I’m missing is something to hold the rear axle. Probably need to remake the BB post into a single piece, instead of my current stack of bushings/spacers, it’s too wiggly as is. Getting close though!
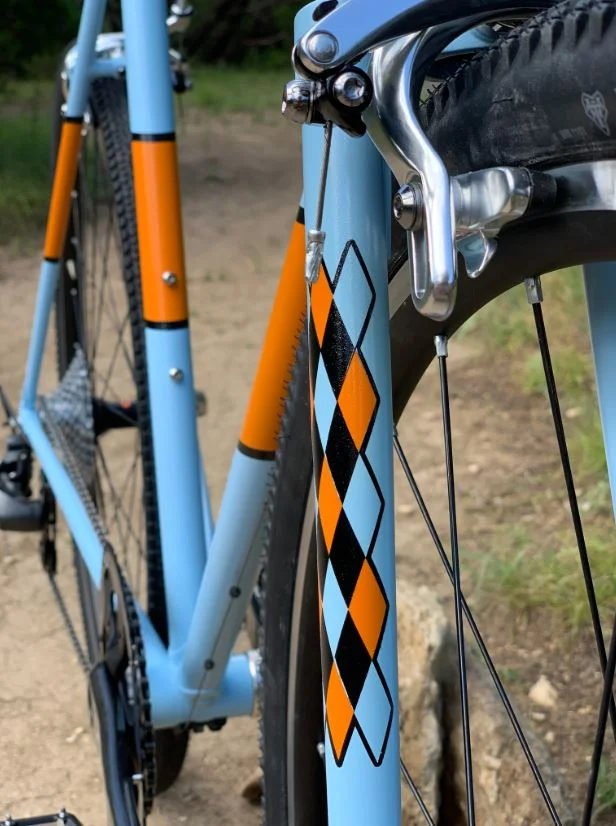
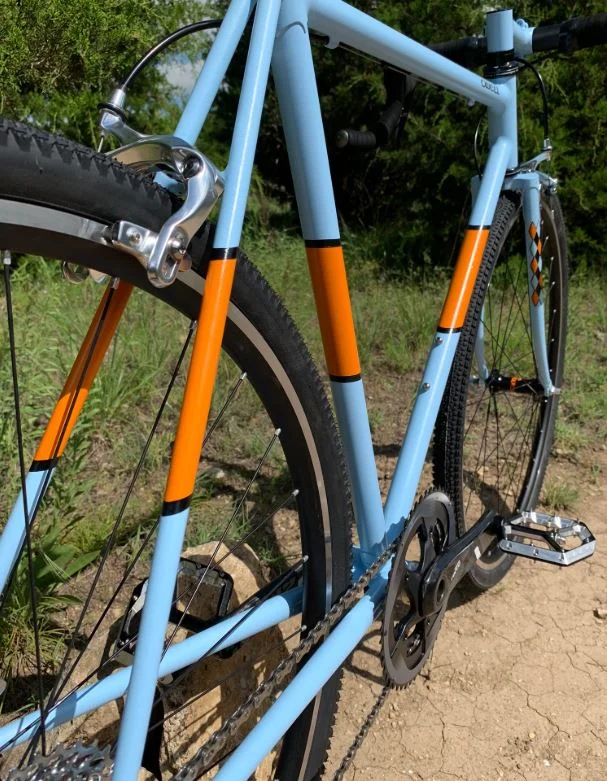
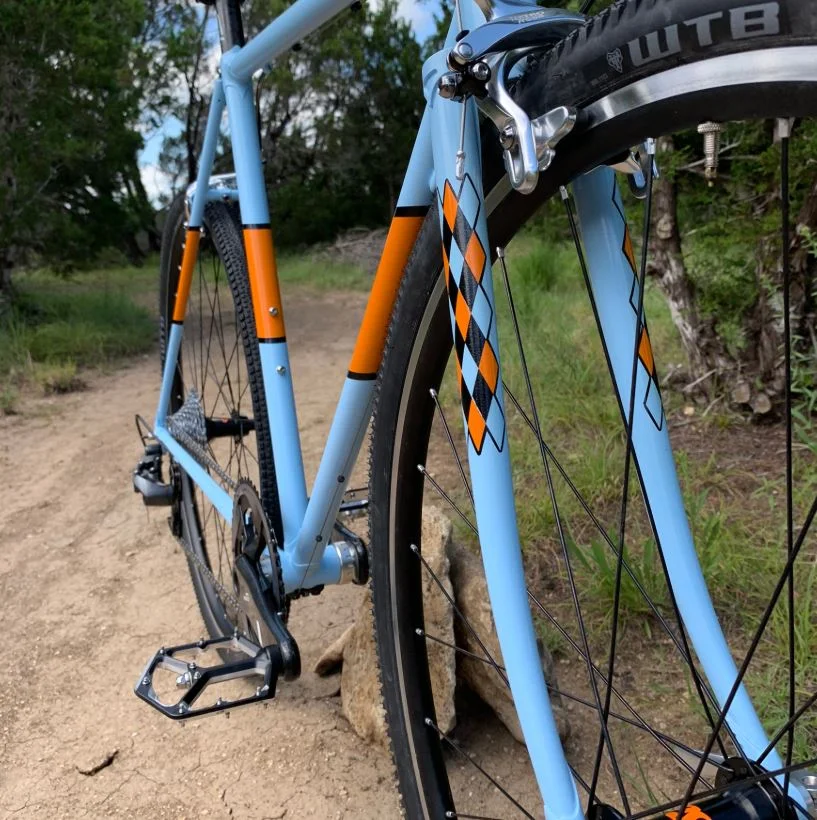
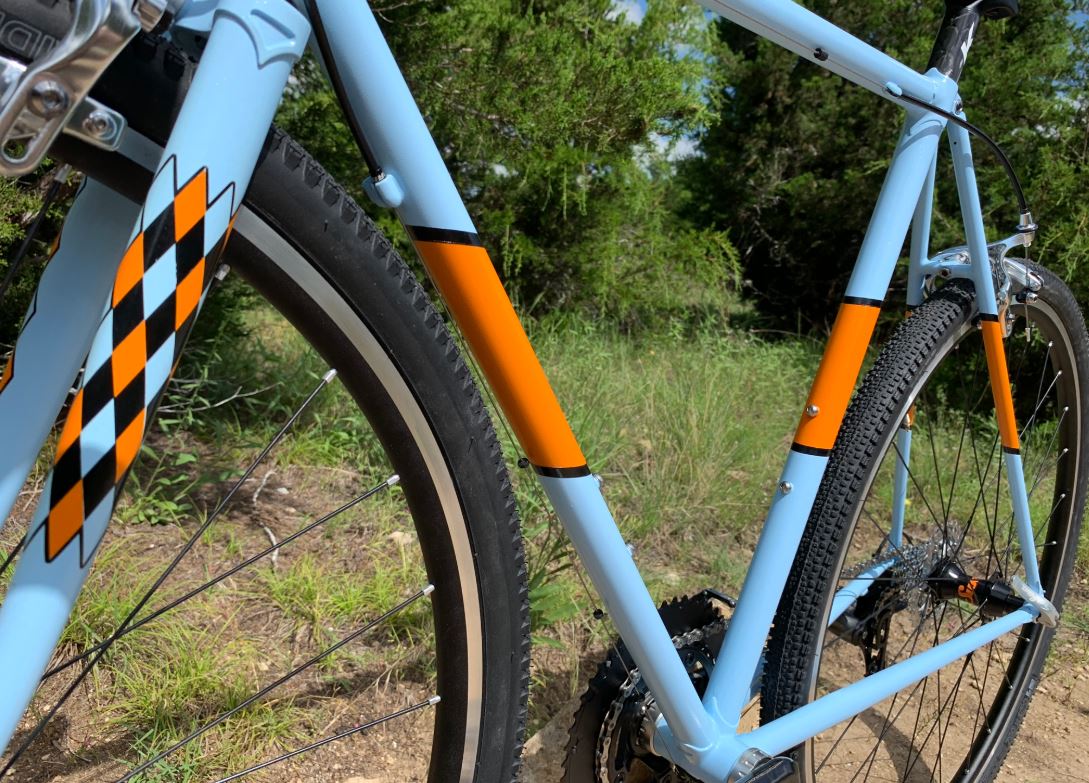
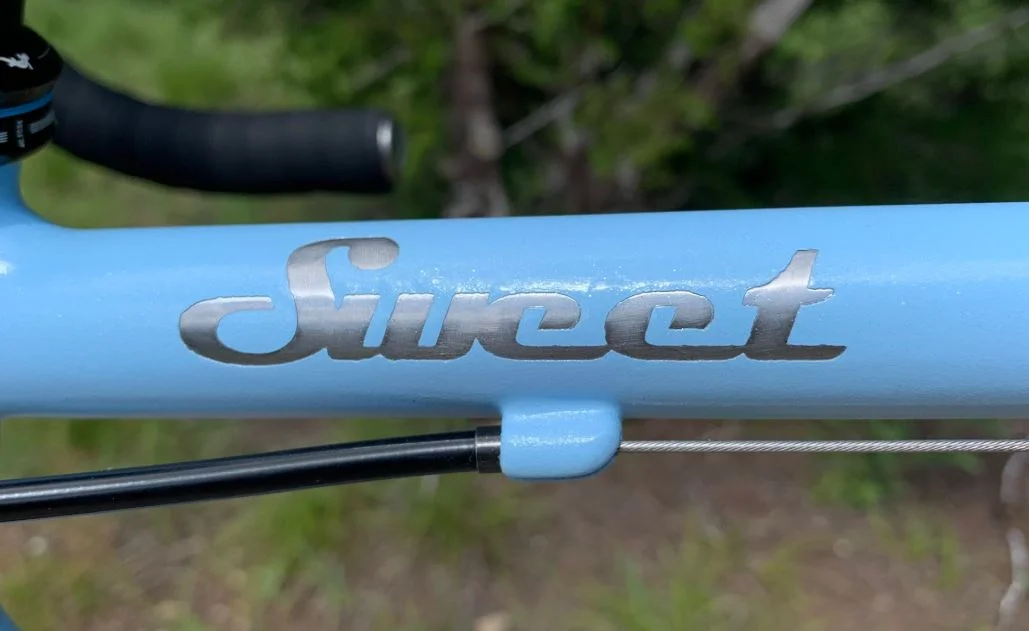
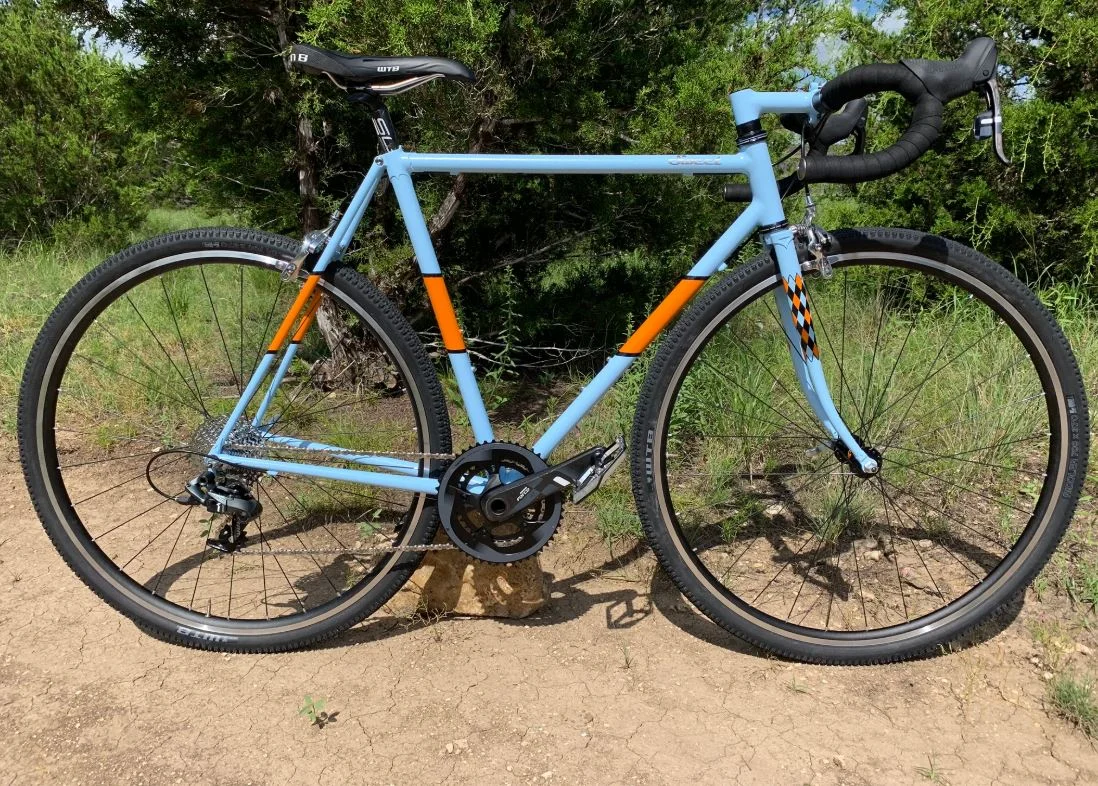
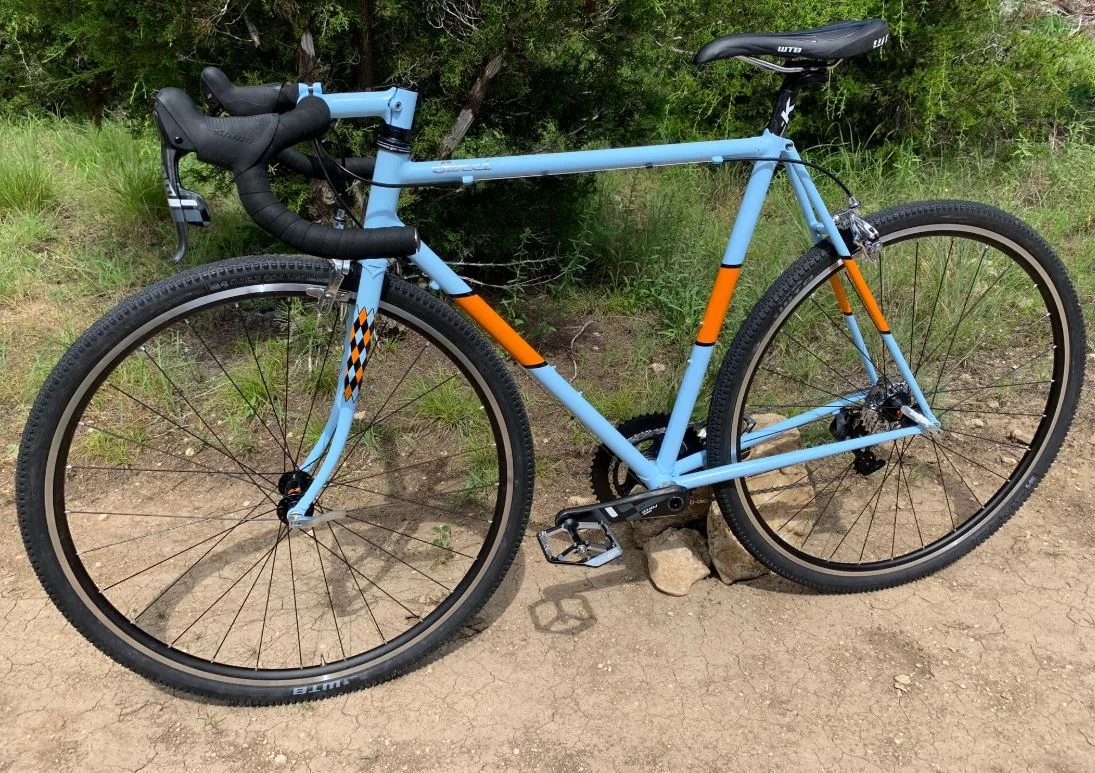
I MADE A BEAUTIFUL THING!!
My very first bike build, which I also painted myself! Came out pretty awesome. I’ve only a few rides so far, but the bike feels great.
Check out Yamaguchi’s Frame School in Rifle, CO. Yes, it’s expensive. Yes, it’s worth it. Yes, YOU will do almost all the work, but he will help where it really matters, such as fixturing, techniques, the tricky parts of brazing delicate features, etc. He’s very patient, great guy, good teacher. And at the end, you’ll get a custom sized/spec’d bike and fork. I also added the stem class because if you’re already there, you really should. The stem was actually the first part we completed, so it was nice to hold a real part while waiting for the frame/fork to progress.
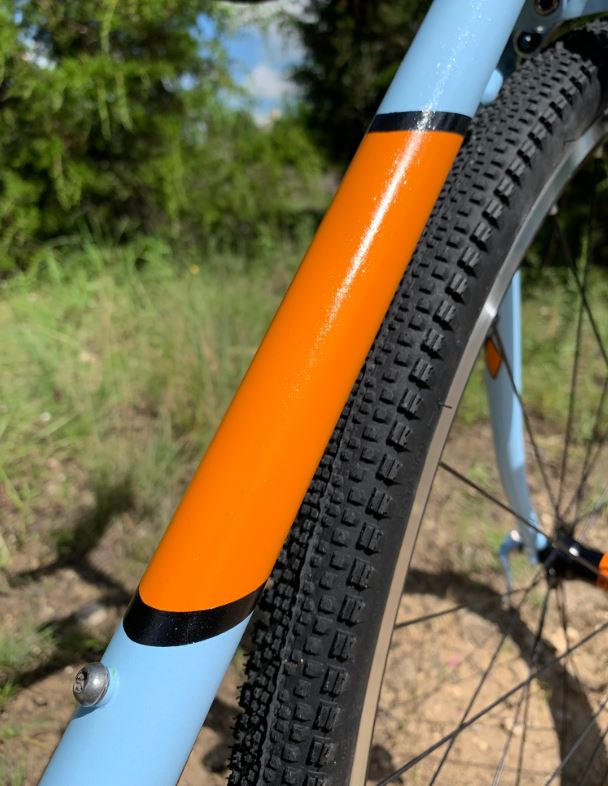
I used spray.bike paint, and they liked it enough to feature my bike on their Instagram. The paint definitely has a learning curve to it, but was very much worth the effort, and it works really well.
If anyone has questions, please reach out and I’ll do my best to answer them.


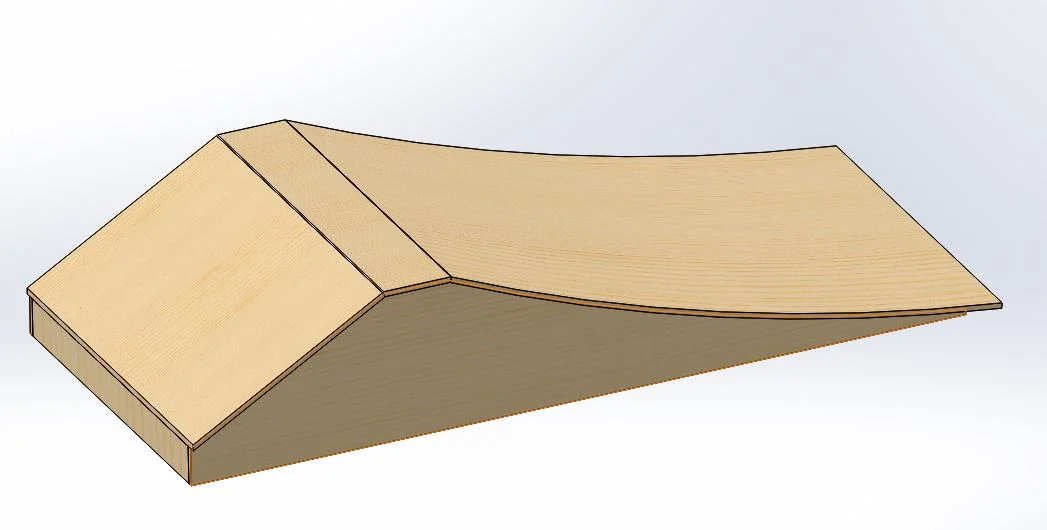
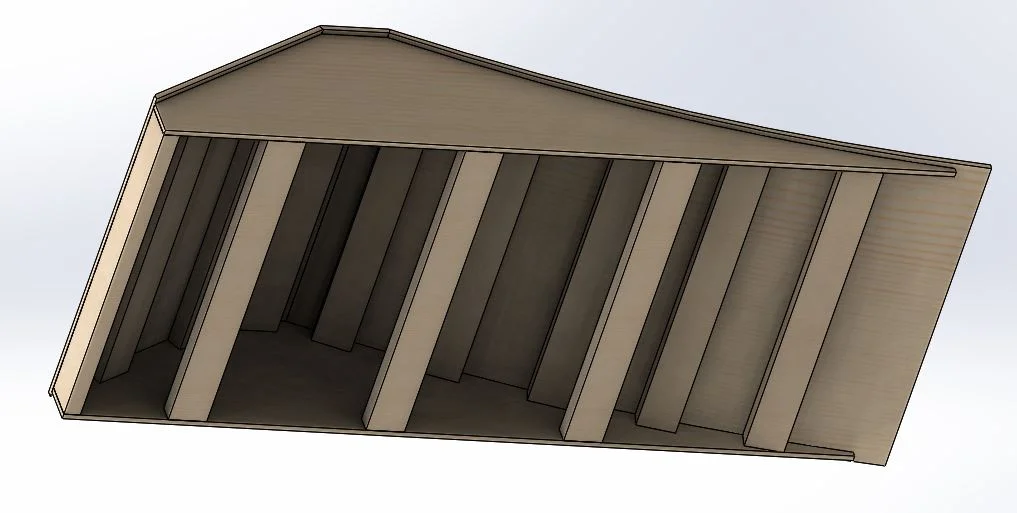
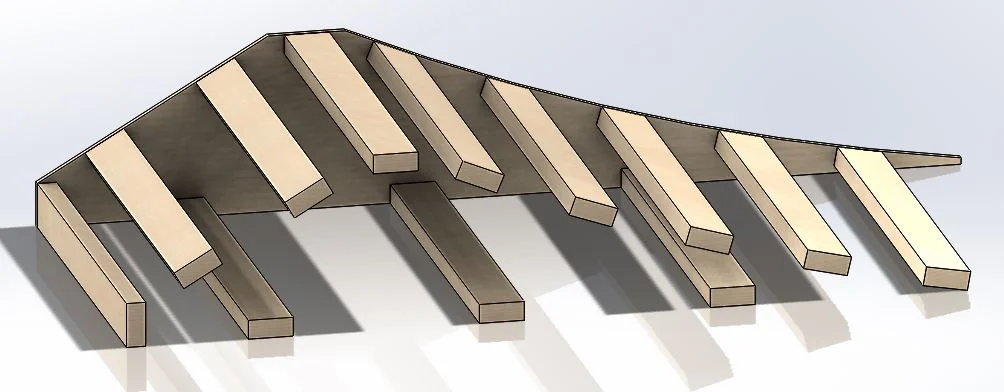
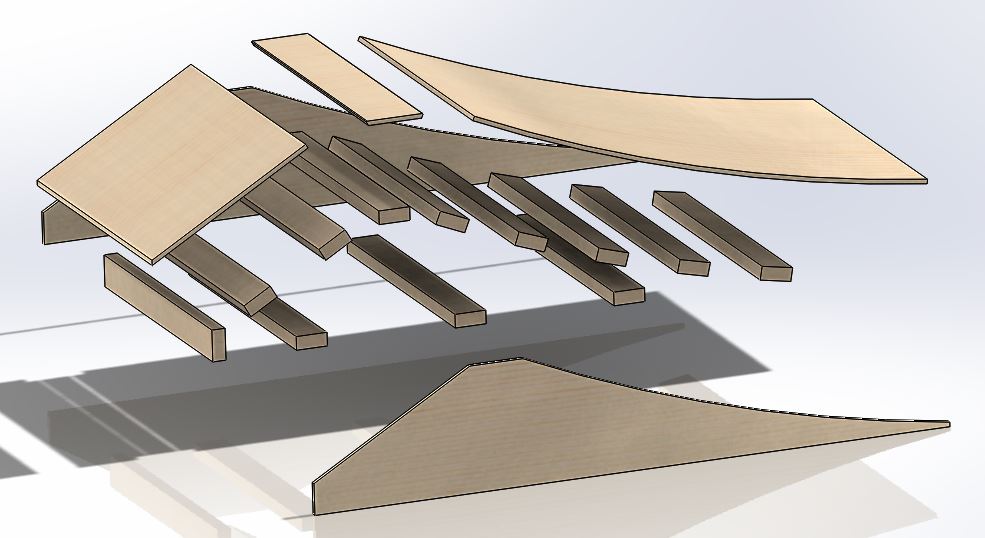
Bike Ramp2
I originally saw this on Seth’s Bike Hacks youtube channel and duplicated it as closely as I could. I wanted to formalize what I did in case it sucked, or was awesome, I could easily iterate. I deliberately made this more on the mellow side as kickers go, as I’m not so great on the bike if that bike is flying thru the air.
I used 1/2” plywood for decking, but even with what appears to be a ‘gentle’ curve, I could not get the ply to conform to the curve without partially sawing thru the underside w/ circular saw….made lots of partial cuts thru underside, then screwed down at the two lower corners, then jumped on the ply to ‘crack’ it into the curve shape. Even after that, it had enough residual tension (trying to straighten itself back out) that a few screw heads broke off when trying to fully screw it down to the 2x4 cross-supports. Wear safety glasses.
And wear a helmet, don’t hurt yourself.
Manual Machine
PDF plans download below. Wear a helmet. It’s not my fault if you hurt yourself. Don’t whine to me if you don’t like this design. But if you have ideas on how to improve it, I’m partially made of ears.
Manual Machine PDF
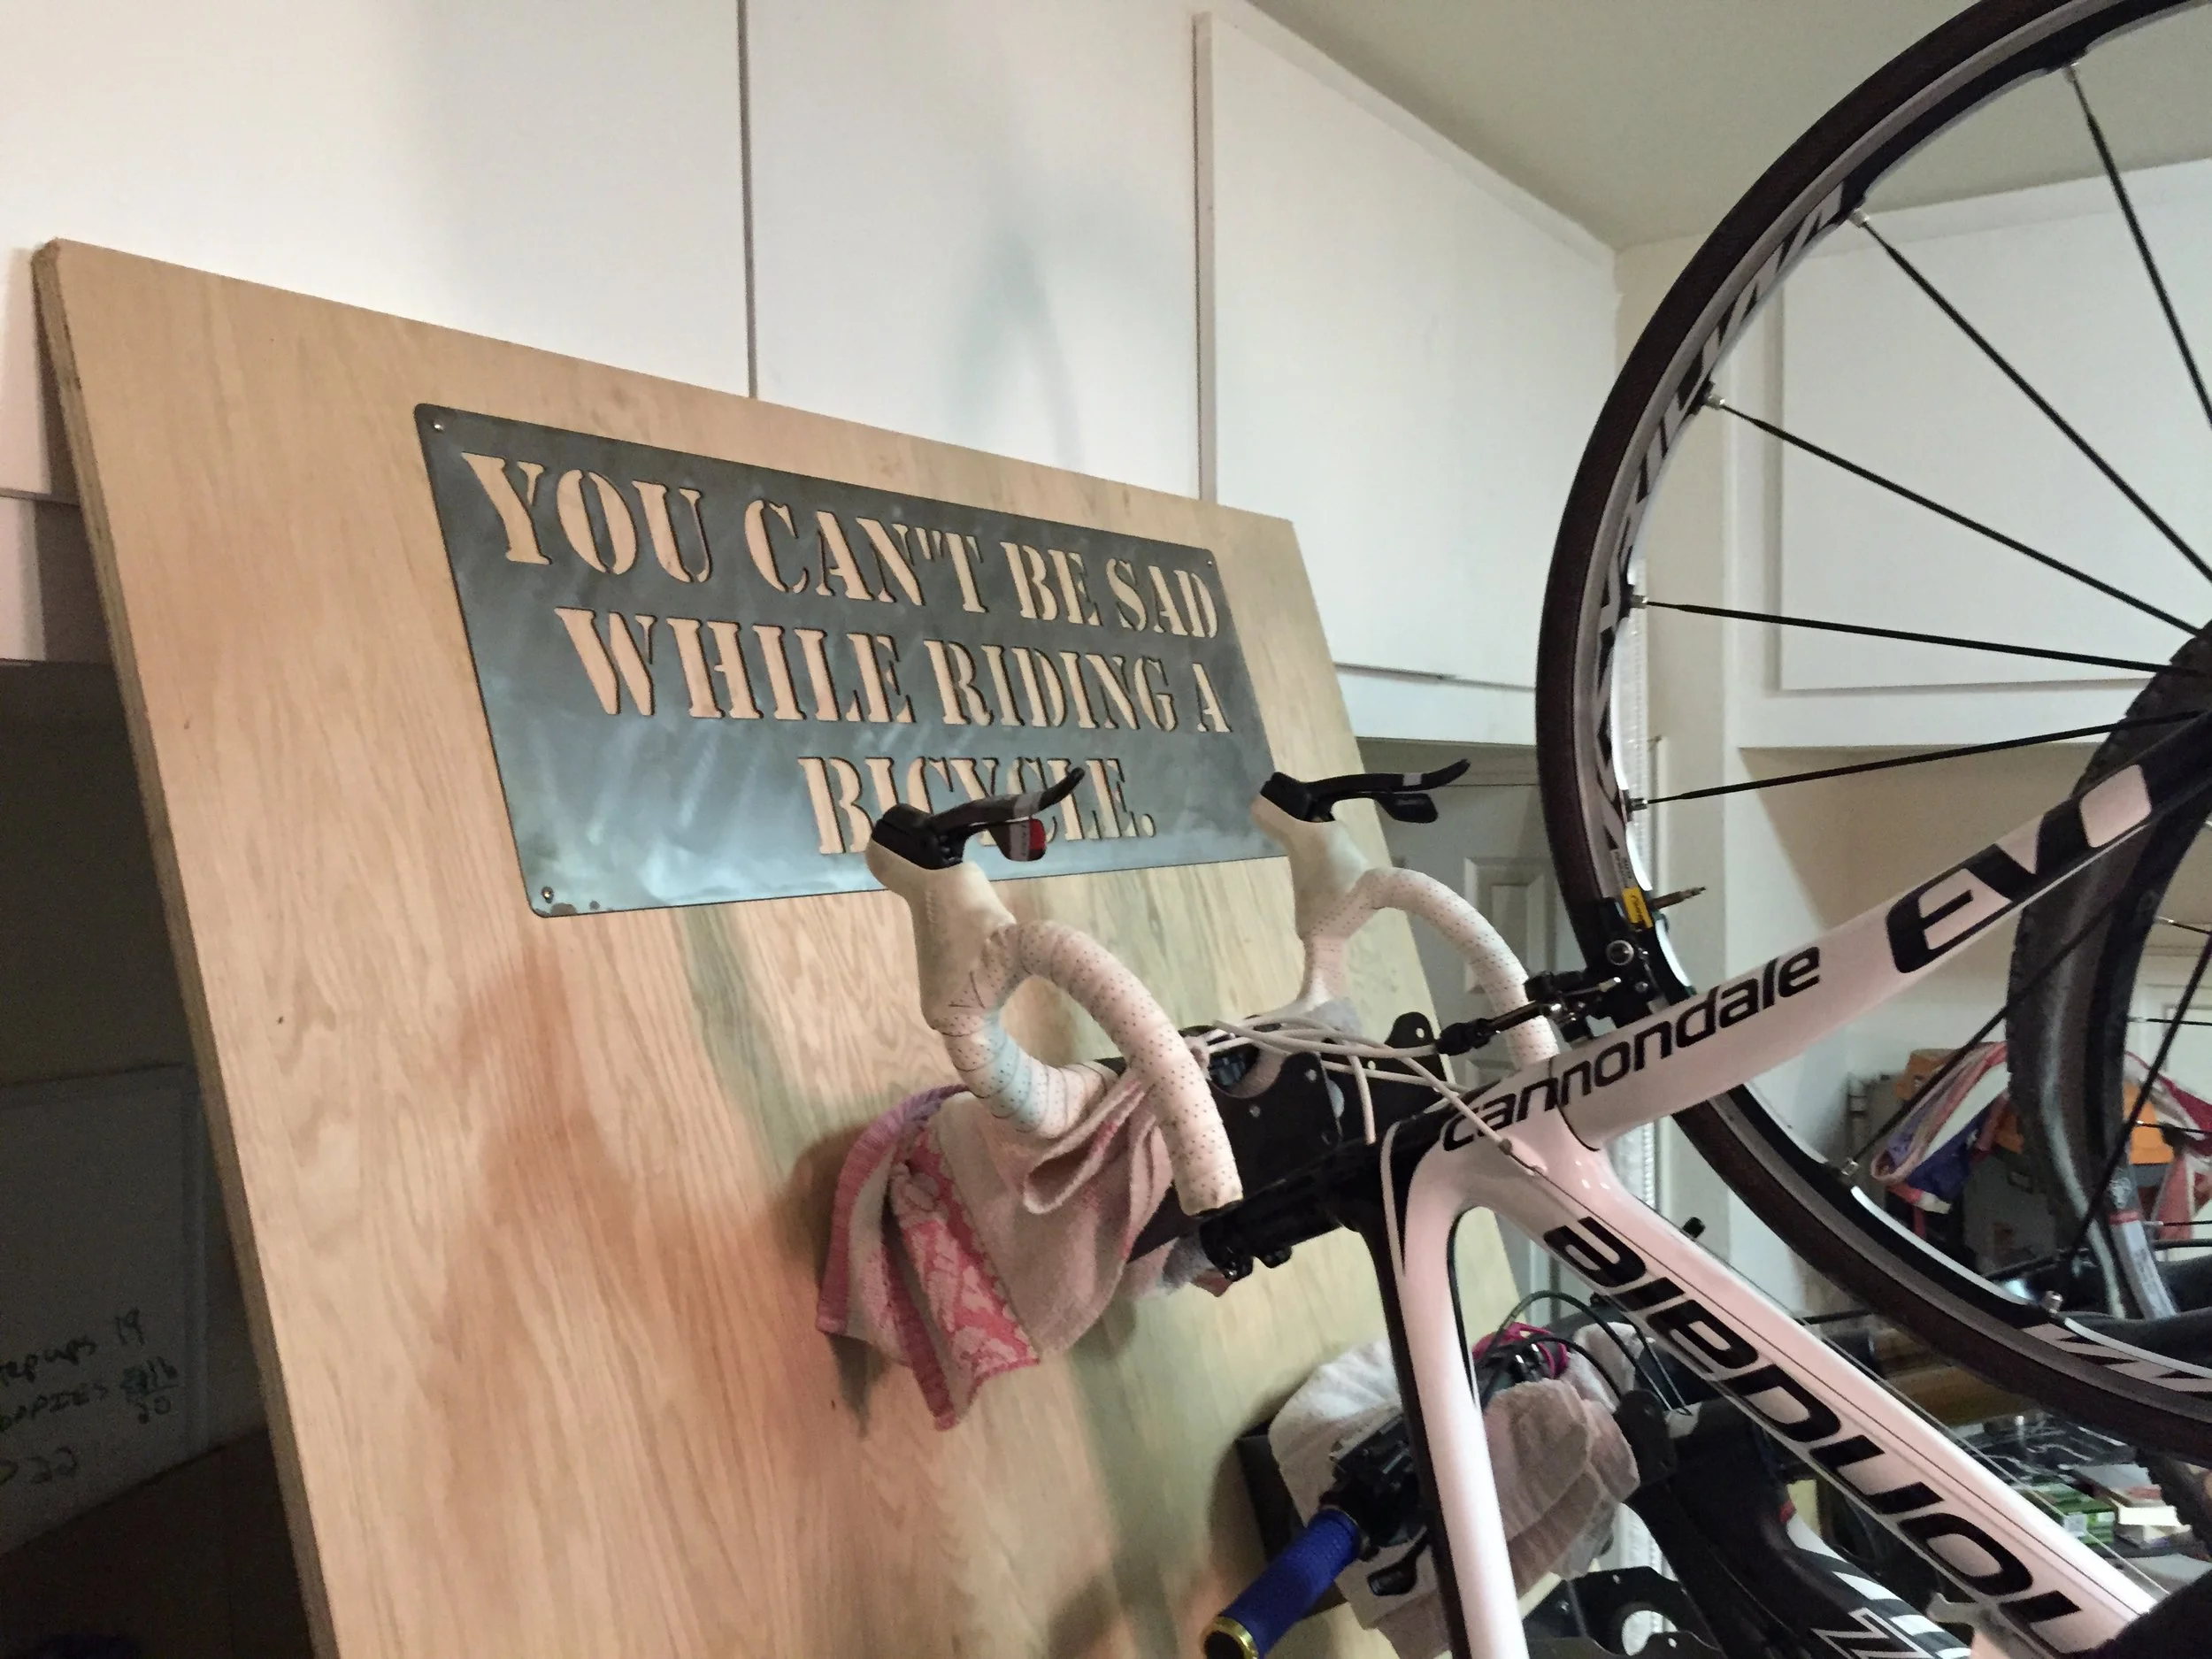
I don't like the word "can't".
Ahh dropper posts. To me, the single best recent innovation in cycling...although it relies on ideas from the first days of office chairs. When I added a Pivot LES to the fleet, it didn't have provisions for internal routing for dropper post, and I was told "I can't do that on that bike". Well...ahem, I beg to differ. Now I would never encourage anyone to take a drill and file to a brand. new. carbon. frame...but I figured someone smart over designed this frame to have two closely spaced holes, so someone hold my beer...and POOF, dropper post compatible.

Base for Park Tools Truing Stand
It has little pockets for spoke wrenches, etc. when you're getting your wheel build on. This was the first time I used my rapid prototype machine to squirt out parts from rubber-like filament, Bowden tube vs flex filament = FIGHT!


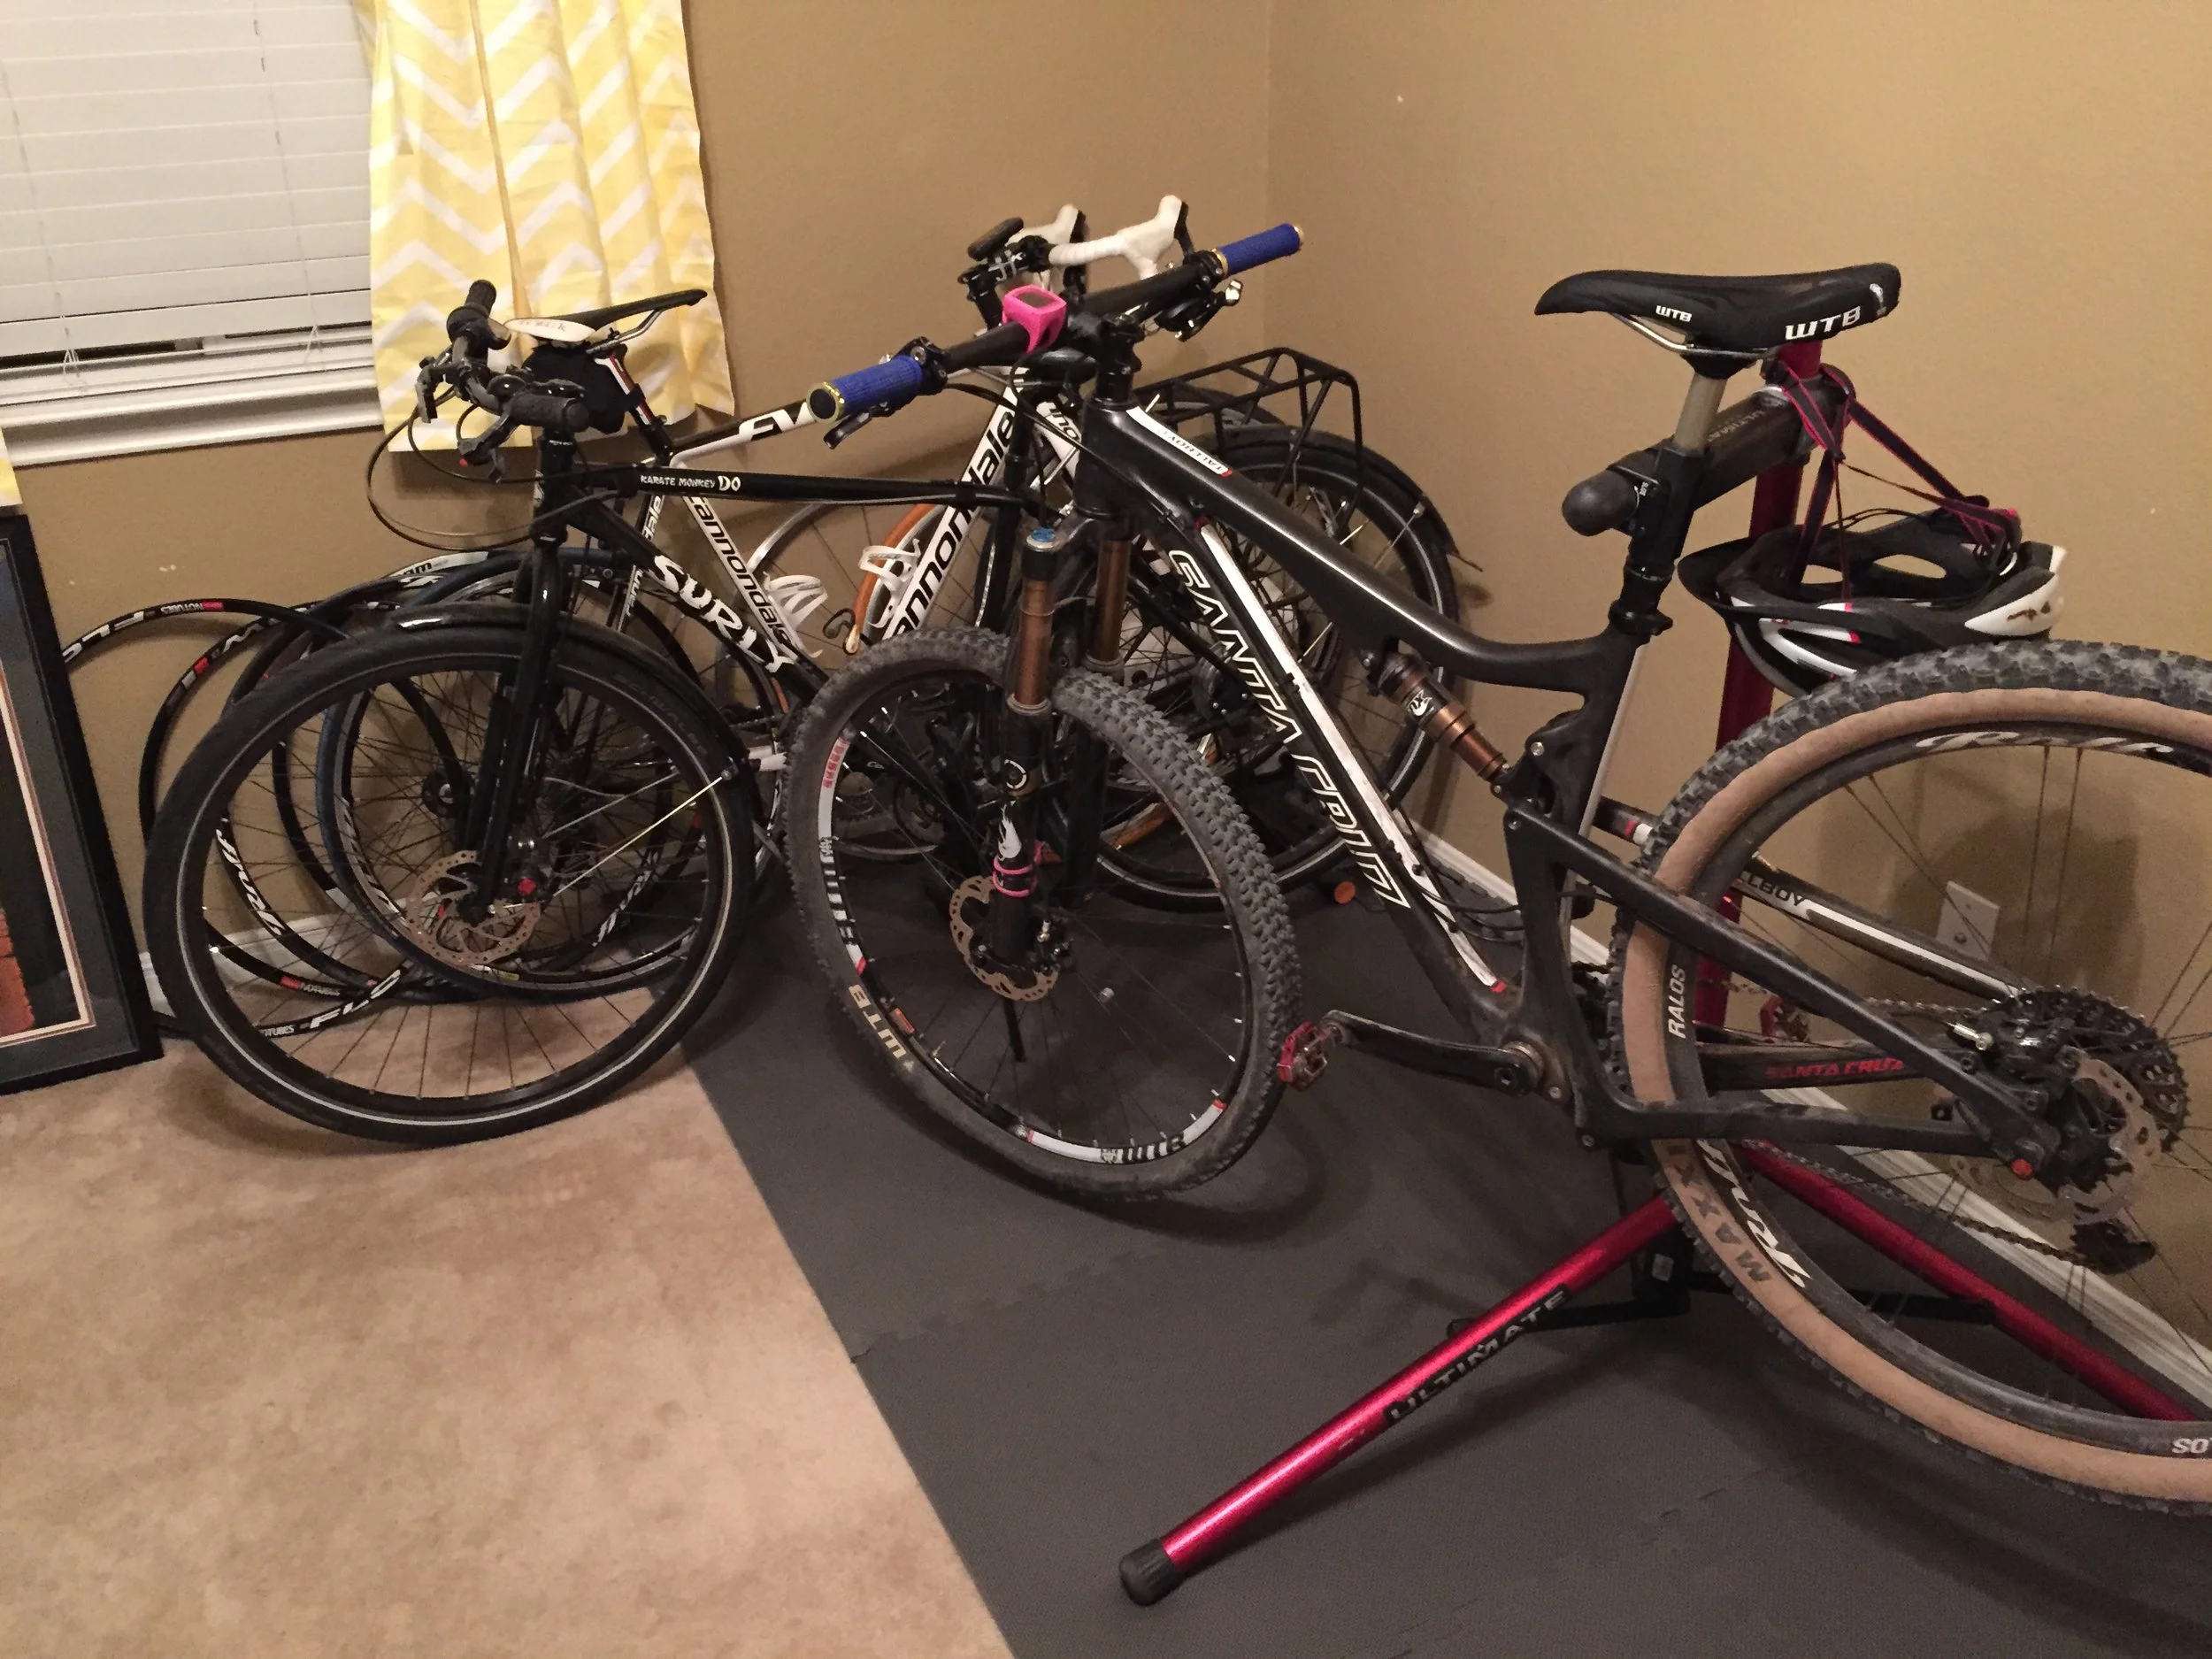
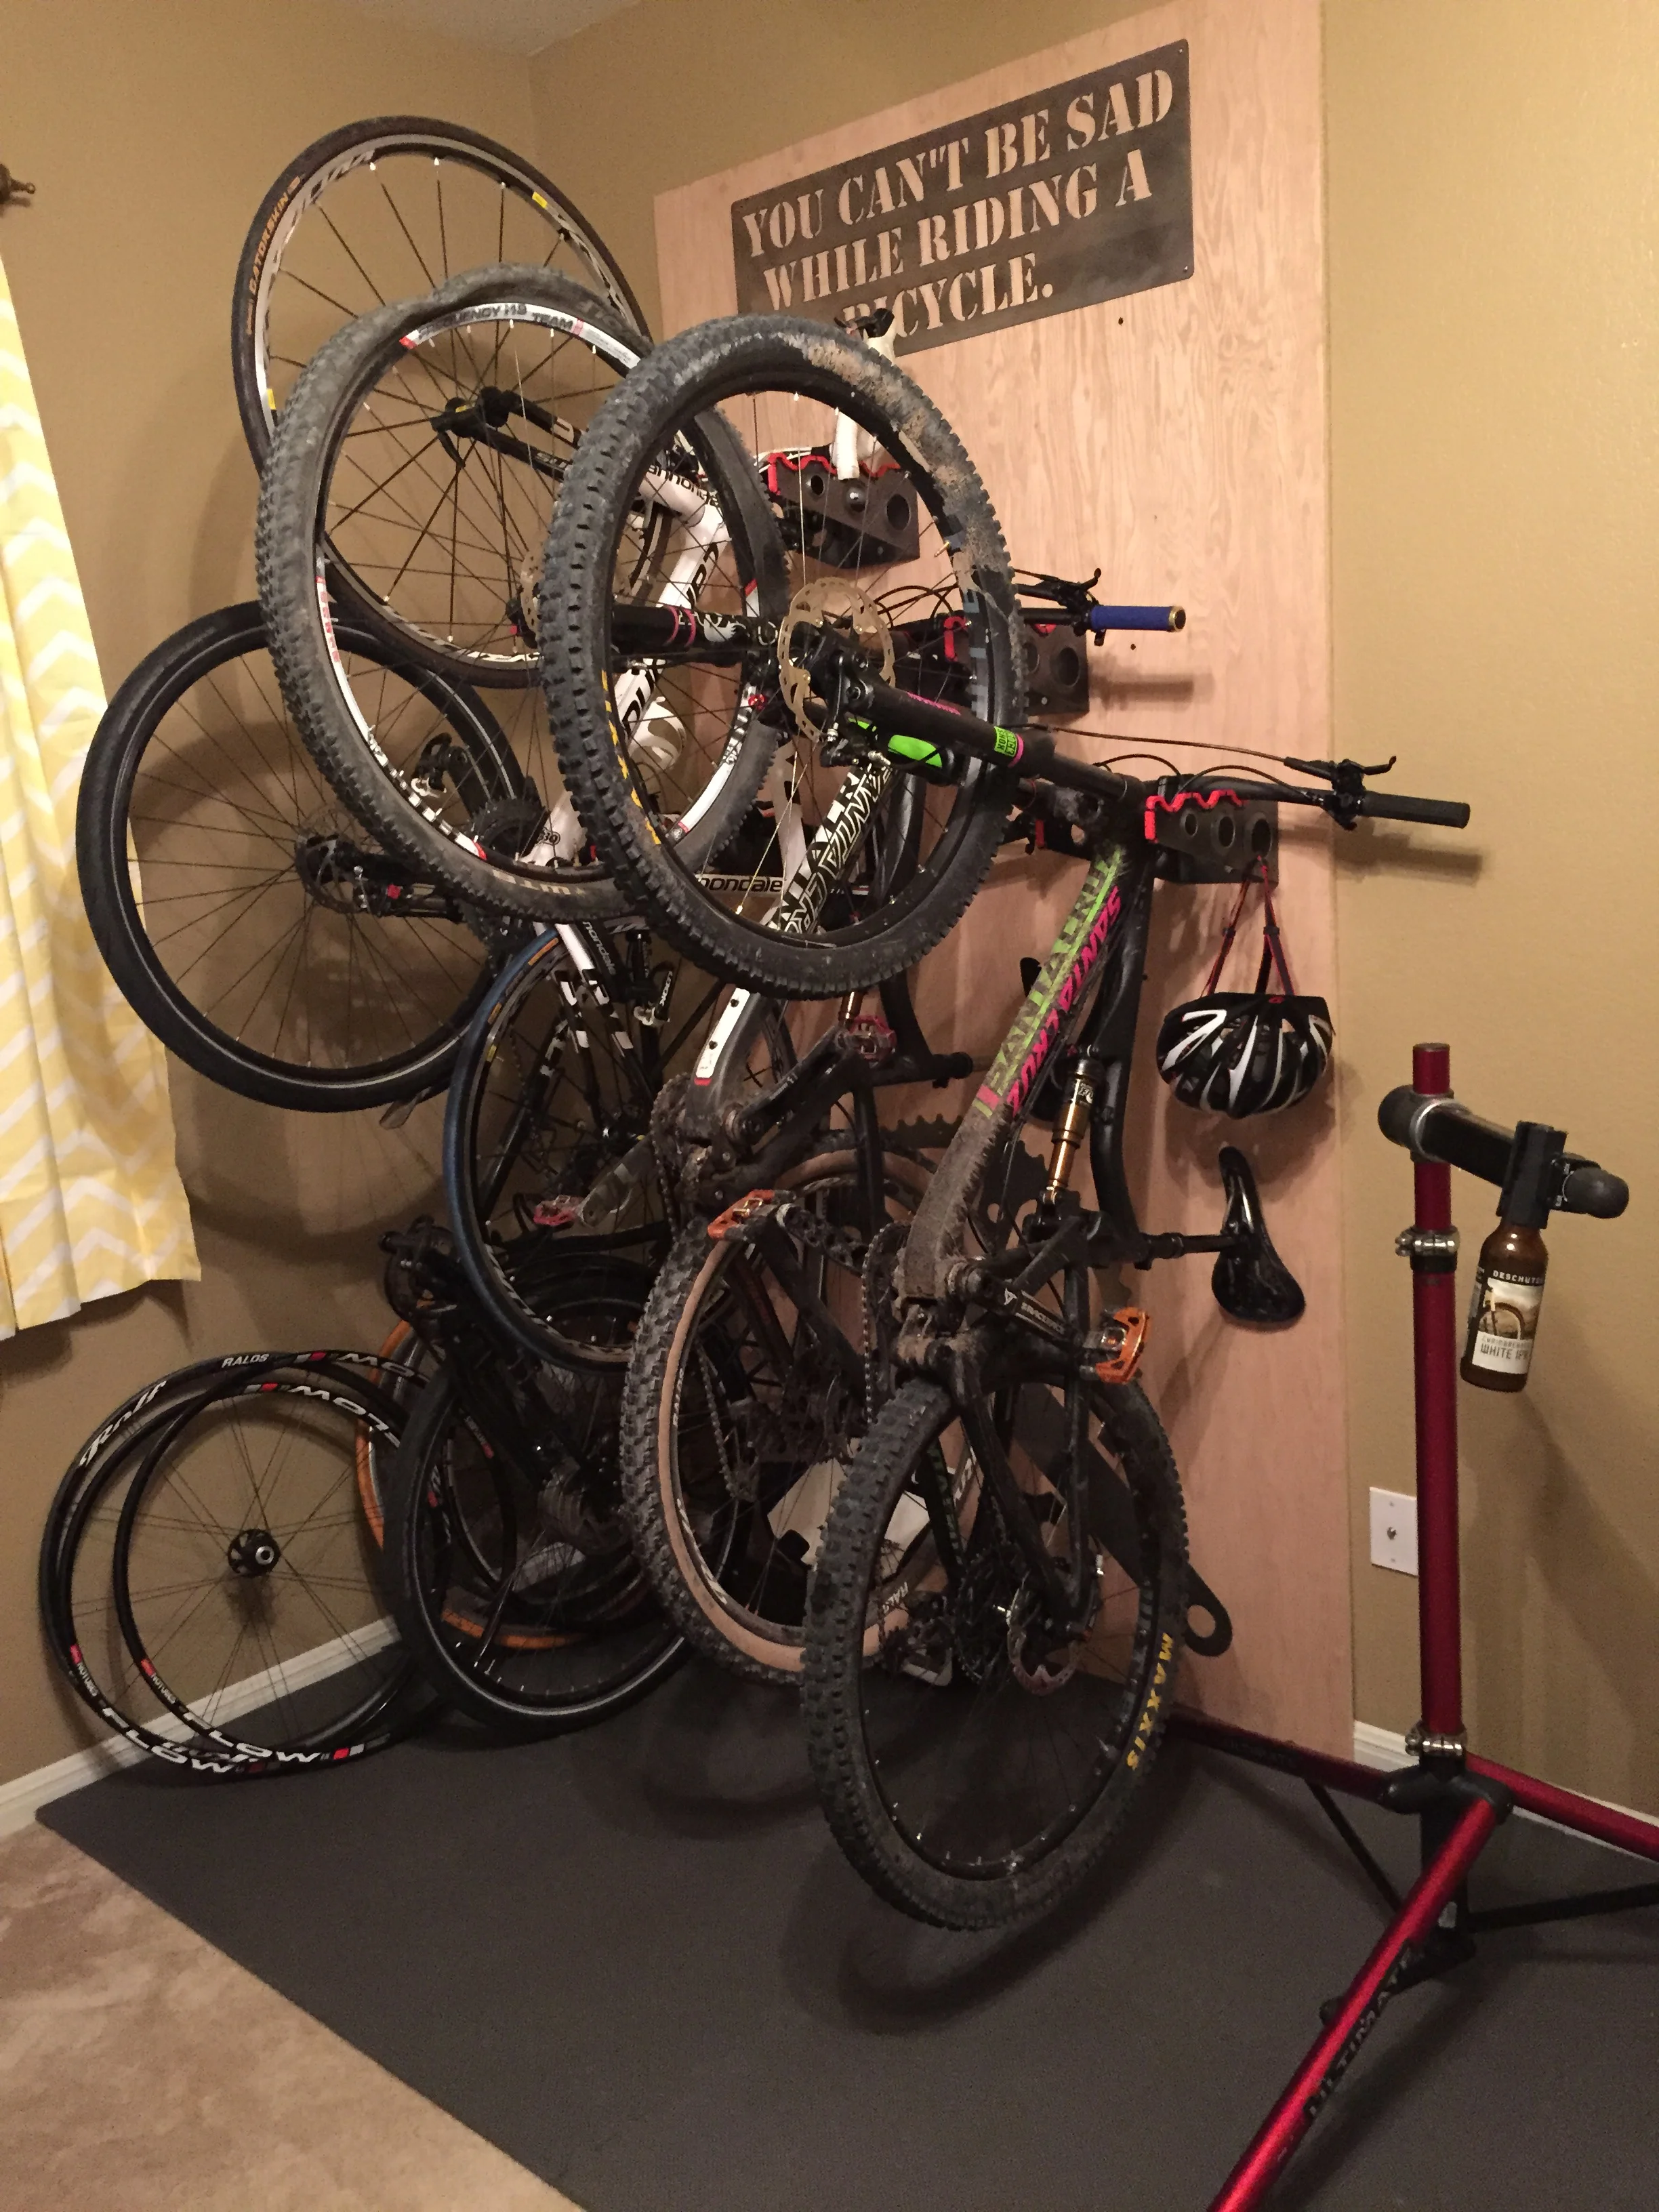
Bike Rack
My bikes like to sleep inside the house if possible. But, my sweet wife didn't like the room looking like a bunch of raccoons parked the bikes. POW! BIKES UP ON THE WALL INSTEAD OF BEING ALL UP IN YO FEETS. It's pretty magical.


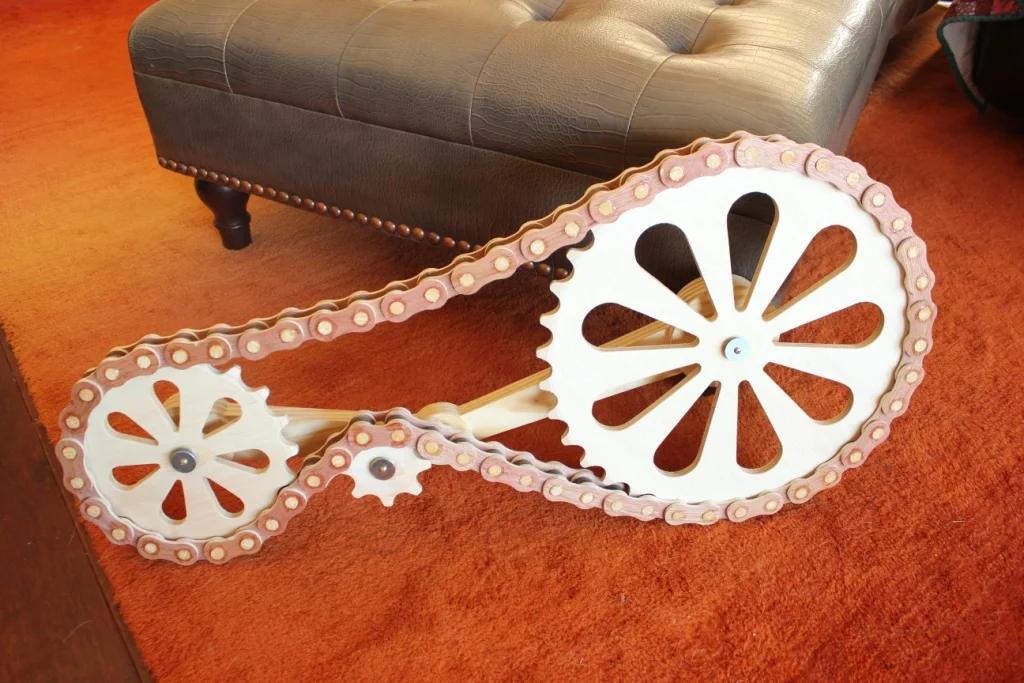
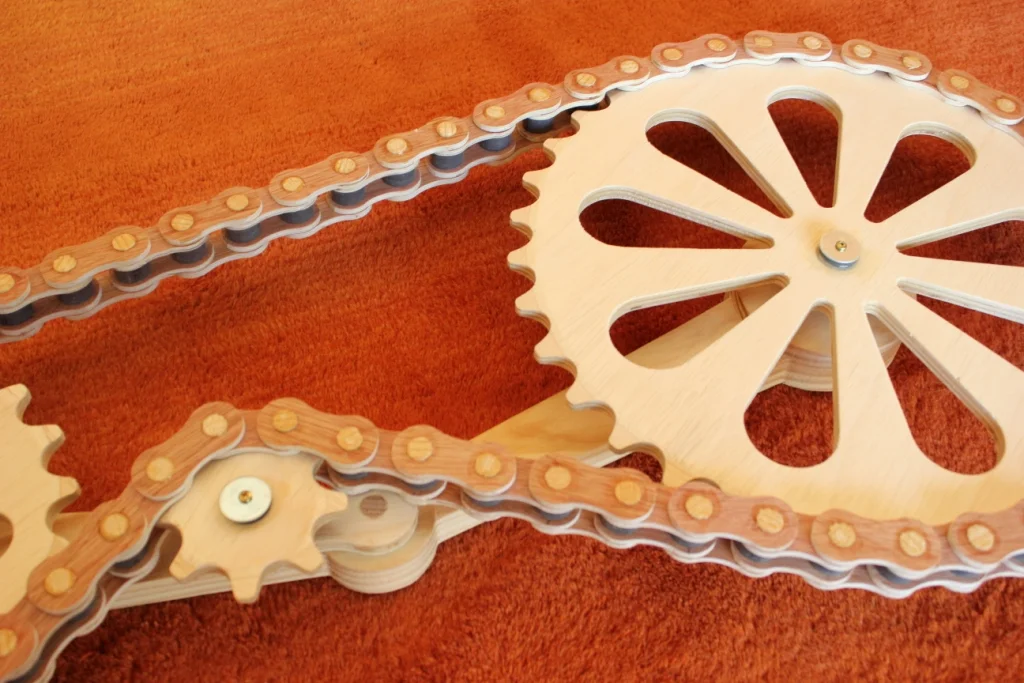
Single Speed Wooden Bike Drivetrain, with Spring-Action Tensioner!
I watched a neat video from a favorite site of mine, where a guy made some wooden bike cogs/chain. I thought I would give it a try, to see if I could figure it out too. Created my own CAD design templates for gears and chain cogs a while back (used it on the Tum-Bling Machine), so it came in handy for this too.
Burley Trailer, Meet Karate Monkey
I didn't like the way the original trailer mount liked to unscrew the left hand acorn nut whilst hauling the kid around, uh, so I fixed it.

